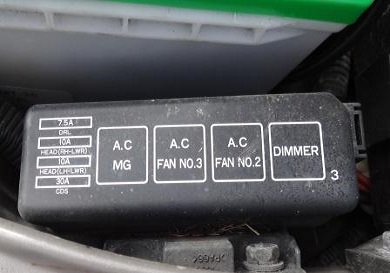
How to Diagnose Car Problems like a Pro
In order to diagnose car problems like a pro you have to think like one. A professional car and truck mechanic understands the logical path of diagnosis. They also use all of the automotive tools at their disposal. Sometimes these tools are automotive meters and test lights, but more often they are vehicle specific reference materials, service bulletins and common sense.
A good car mechanic begins every diagnostic scenario with an open mind, a good visual inspection and some quick research. When you are a dealership technician you start to become aware of repair trends in certain automobiles. In other words, when you diagnose car problems, like a lack of heat, from a low cooling system and find a leaking intake manifold gasket on a 1997 Chevrolet Malibu you know what to look for when the next Chevy Malibu comes in with the same complaint. This procedure often completely eliminates diagnosis.
Do-it-yourself mechanics can research these common issues with the power of the internet. Vehicle specific forums and service bulletins issued from the factory find their way into the organic search results. In this brief article we’ll discuss the all important first few steps of how to diagnose car problems like a pro. Since professional mechanics get paid on a flat rate basis time is money. The quicker they diagnose an issue, the faster they resolve it. This allows them to move on to the next vehicle and make more money. DIY driveway warriors can use the same techniques to uncover complex automotive problems faster.
Beginning Steps of Automotive Diagnosis
Although the beginning steps of automotive diagnosis often depend on the specific complaint, we can apply a few general principles to almost any diagnostic situation. Let’s use an example of a cruise control system not operating correctly. First, we verify the complaint. On a road test we discover when we turn the cruise on, the power light indicates the system became active. However, it fails to hold the speed when pushing the set button.
By verifying the complaint and spending just a few minutes in the automobile, we’ve already come a long way in diagnosis. We know the fuse and the power switch are good, because the power light came on. This allows us to move on to a quick visual inspection. We want to make sure the servo and related under hood components are plugged in. At the same time we’re inspecting the wiring for any signs of damage. This damage could be in the form of a poor connection, corrosion or even damage from a mouse chewing on some wires.
With the basics covered it’s time to apply some logic. Let’s do a quick search on the Internet and see if other people are experiencing the same problem with their cruise control systems on our specific year, make and model vehicle. Chances are we’ll learn a lot from this quick bit of investigation. Now we can inspect and test the components that other people have found defective for this complaint.
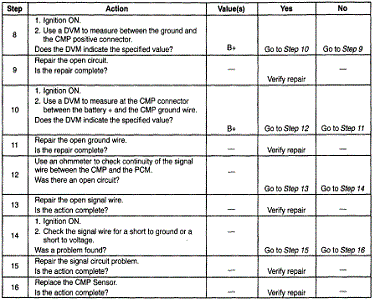
If we don’t find much, it’s time to make a move that separates the professional technicians from the shade tree mechanics. It’s time to follow a diagnostic tree chart in the factory auto repair manual. This ladder diagram takes us on a direct path to a repaired automobile. At the end of the article we’ll tell you what was wrong with this cruise control system.
Verifying Failed Components
A professional car mechanic doesn’t guess at what’s wrong with the automobile. And there is no reason that a do-it-yourself driveway mechanic should either. Sometimes when we diagnose car problems we find failures with switches, relays and solenoids. The one thing that all of these components have in common is they all move. A switch is manually operated by the driver. A solenoid becomes activated by the vehicles electronics and then moves to perform an action. An electrical relay gets energized from a signal wire that physically closes the contacts. This allows electrical current to flow to the load in the circuit.
You can test all of these components individually. With the cost of an automotive multi meter in the $20 range this diagnostic tool can pay for itself on the first use. A mechanical switch completes the circuit. We can use the voltmeter to verify that it performs this task properly before replacing the part. When we have an electrical relay problem we can verify the power and ground necessary to close the contacts. Then we can test to make sure that current flows through the relay when the contacts close.
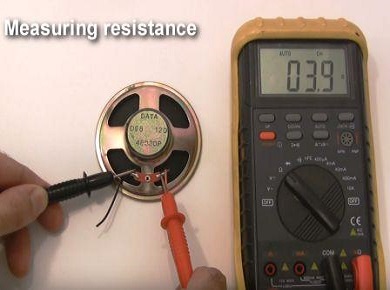
Even in the case of an electrical solenoid we can test the resistance of the component. The solenoid operates by energizing a coil that moves the solenoid using electrical magnetism. The most common failure in a solenoid remains a coil that degrades or develops an open. Using the voltmeter we can verify the resistance falls within manufacturer’s specification. If the solenoid passes this test we can then verify the solenoid physically moves and performs the desired action.
Diagnose Car Problems on Modern Vehicles
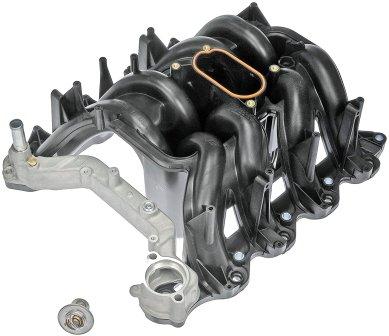
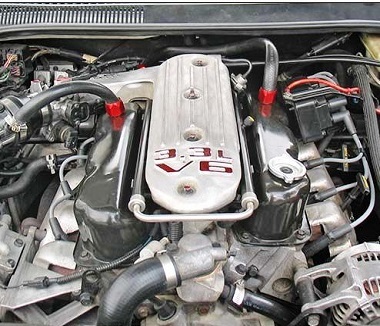
When we use the term modern vehicles we’re actually talking about automobiles manufactured within the last 10 to 20 years. When you pop the hood on these automobiles it’s hard not to notice the amount of plastics used under the hood these days. We discussed this in great detail in an article about plastic automotive technology.
Manufacturers use these materials to save money and reduce the weight of the vehicle. However, the longevity and the reliability can often become the sacrifice of using these materials. When you diagnose car problems it’s a good idea to carefully inspect cheap plastic components that could cause the malfunction.
So what was wrong with the cruise control used in our real life example above? We isolated the failure to a cheap plastic brake switch made in China. When you tap the brakes it knocks the cruise control off, thanks to a signal from this switch. The switch failed and would not allow the cruise control to set and hold speed.


