Replacing a Car Engine
Removing a Car Engine
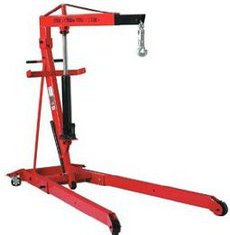
A lot of site visitors asked me if removing a car engine is difficult. The short answer to this question is yes. Is it possible for someone to accomplish in their driveway? The answer is again yes. If someone is contemplating replacing their own engine and has some good do it yourself automotive skills it is possible to be successful. This article will review some procedures and tips to help increase your chances of success.
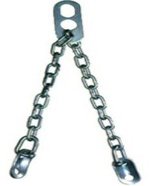
Before you begin removing a car engine you really want to make sure you have the tools and equipment required for the job before you start. In addition to basic hand tools and some special tools you will need an engine crane, the special engine lift chains and an engine stand is nice to have also.
Many tool rental companies have these for rent for about $70 for the whole weekend. But before you go out and rent one it is best to prepare as much as possible before you bring the crane home.
Basic procedures for engine removal will vary greatly depending on your make model and year of the vehicle. An auto repair manual for your specific vehicle is highly recommended. And I would strongly suggest you check out an online car repair manual such as all data. This provides procedures from the automotive manufacturer instead of a small book from the auto part store.
Pulling an Automotive Engine
In my opinion removing a car engine from a rear wheel drive vehicle is much easier than a front wheel drive one. You may want to take this into consideration before beginning the operation. After the vehicle is in a position where it can sit for several days without being in the way I usually start by removing the hood.
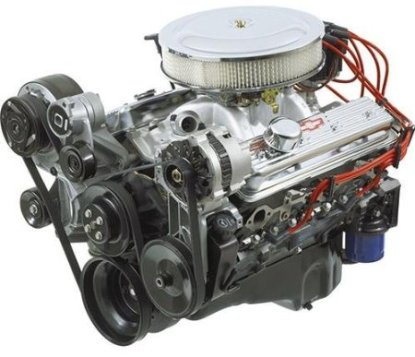
This step may not be required but can be performed quickly and really provides a lot more room and light. Often when you go to pick the engine up with the crane the hood is in the way. If I’m replacing an engine on a car that I am not that familiar with I will usually start by taking pictures of the engine compartment, making sure to get close-ups on the vacuum line position and wiring harness placement. These pictures can really save you when you are reinstalling the new or rebuilt engine.
You are going to have to drain the engines fluids. I like to take extra time to make sure I get all of the engine oil and coolant out and then clean up the work area so I am not slopping around in a slippery mess. Keeping things neat and orderly and clean when you’re replacing a car engine can be key to safety, but also provides a mental boost for me.
Disconnecting The Engine
Remove the air intake ducts and the air cleaner assembly. What I do is I will make a pile of parts for that particular system in this case the air intake system and also get a box to put all of those specific bolts in. On reassembly you can go to the pile and grab the specific box of bolts and keep everything organized. It is also nice to have an engine stand to put the removed engine on.
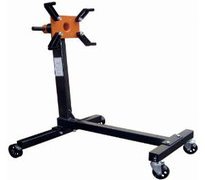
The fuel lines will have to be disconnected from the intake manifold. Again each vehicle will have a different procedure to accomplish this. But it is very important to make sure that the system is depressurized so that no fuel sprays out. I also like to remove the fuel filler cap to make sure that there is no pressure in the tank itself. Follow your auto repair manuals for the specific steps to depressurized the system and safely disconnect from the engine.
Some of the automotive systems will be staying in the engine compartment and will have to be removed from the engine. As an example the power steering pump can stay connected to the lines and remain in the engine bay. The A/C compressor as well can stay connected to the air conditioning system and also be removed from the engine and stored out of the way in the engine compartment.
In both of these cases you’ll have to remove the engine drive belts and individually remove these accessories from the engine. I use bungee cords or large wire ties to safely secure these accessories out of the way after they are unbolted from the engine.
On a rear wheel drive engine you usually have to remove the front radiator fan shroud. In some cases you also have to remove the radiator itself so that it is not damaged by the swinging engine when it is lifted by the crane. You want to make sure that you don’t damage anything that does not need to be replaced during the operation.
Now it is time to disconnect all electrical harnesses that run to the engine. If you took the pictures recommended above you will know were these harnesses go on installation. You can also manually mark them with a tag. Now it is time to start removing engine mounting bolts.
The transmission will have to be unbolted from the engine. The engine mounts will have to be unbolted from the frame. Procedures for these operations again should be followed in your auto repair manual.
Now you can position the engine crane over the engine and attach the specialized engine lift chains to the old engine to be removed. Most engines have attaching brackets for this operation that was used at the factory for installation. Again this step is very important for safety reasons. These approved lifting locations are indicated in a quality service manual.
This was just a general overview of the steps that are required to replace a car engine. Again this was requested by several site visitors and I hope that it shed some light on what is involved with replacing a car engine. It should never be attempted by anybody that doesn’t have quite a bit of auto repair experience under their belt. Performing this operation without the proper reference materials is a really bad idea.
For more information about general auto repairs you can visit the Certifiedmastertech.com home page. If you are looking for more information about how an engine works I have a section dedicated on my other website about the theory and operation of an automotive engine.
