Using Automotive Meters

The automotive meter is one of the most versatile tools used to diagnose automotive electrical problems. It is also the tool that I use the most to verify failed electrical auto parts.
By verifying that an electrical part has failed you are assured that the nonrefundable purchase will not be in vain. In most cases automotive electrical parts are not returnable.
The auto multimeter can be used to test direct current and alternating current. This inexpensive handy tester can also be used to test resistance, continuity and in some cases can provide engine RPMs via an inductive pickup.
Some of the more expensive units will even include a temperature probe that provides valuable and accurate Fahrenheit or Celsius readings.
On older vehicles, this electrical tester can be used to measure duty cycle, pulse width and diode condition. All it takes is selecting the proper test from the control knob, and this is usually covered quite extensively in the supplied documentation that comes with the automotive meters.
Types of automotive meters

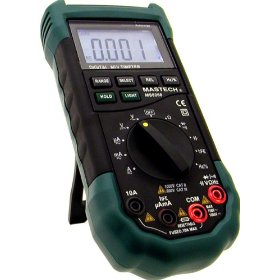
Multimeters are available with either analog or digital displays. Although analog meters were very popular just a few years ago, the digital meter has become the go to standard of the auto repair industry.
Digital voltmeters do not use a sweeping needle or a scale to display the measurements. Instead they display the measurement digitally on the automotive meter itself.
Digital meters have a high input impedance usually at lease 10 Meg ohms. Metered voltage for resistance tests is well below 5 V, reducing the risk of damage to sensitive components and delicate computer circuits.
A digital multimeter also gives quite an exact reading and one that is not dependent on the view of the needle against a scale that could be hard to read.
Digital meters can have either an auto range feature in which the tester automatically selects the appropriate scale. On some of the automotive electrical testers, you will have to select the range manually.
In either case, you should be familiar with the ranges and the different settings available on the particular automotive multimeter that you are using. To designate particular ranges and readings, testers display a prefix before the reading or range. Example: MV stands for Milli Volts
If the meter has a setting for amps this means the readings will be given in milliamps or thousandths of an amp. As an example when using a tester with an auto range feature, make sure you know the range being used by the meter. There is a big difference between 10 ohms and 10,000 ohms.
After the test range has been selected the meter is connected to the circuit in the same way as if it were an integral part of the circuit. Some auto repair testers also feature a minimum and maximum function. This function displays the average voltage recorded during the time of the test.
This feature is valuable when checking sensors or when looking for electrical intermittent. Using the recording functions, you can pinpoint a high and low of the voltage reading along with the total average of the test.
Graphing automotive meters

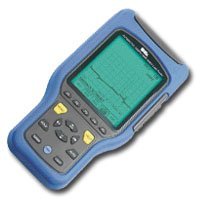
One of the latest trends and diagnostic tools is a graphing digital automotive meter. This test equipment displays readings, over time, very similar to a lab scope.
The graph displays the minimum and maximum readings on an easy-to-read graph. By observing the graph, a mechanic can view any undesirable changes or spikes in the circuit being monitored.
Intermittent failures that cause spikes can be some of the hardest problems to find in automotive diagnostics. The graphing digital multimeter provides a record of operation that makes it easier to pick out the spikes or problems in the circuit.
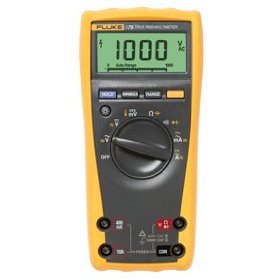
My fluke meter is one of my most used tools. Learning the proper operation of this important test equipment is, what can set you apart from the other mechanics. Your customers and family will also learn to value your pinpoint accuracy when it comes to diagnosing automotive electrical parts.

