Drum Brake Inspection

Before performing a drum brake inspection, make sure that the vehicle is in a safe condition. Blocking the front wheels and installing extra jack stands will give you peace of mind when you remove the rear wheels.
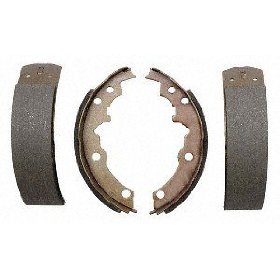
If you are looking for specific replacement parts like hardware (spring kits), wheel cylinders, shoes or any other unusual rear brake stuff you can visit the drum brake parts page.
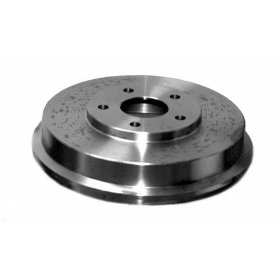
A step I use before I pull the drums is to mark the drum and lug. Drums are balanced from the factory, just like wheels are. If the drum had a large weight welded to it and you installed the drum in a different position a complaint of vibration may occur.
When drums are installed from the factory often they will have a retaining clip to keep the drum in position as the vehicle moves down the assembly line. These clips will need to be removed when inspecting the drum breaks for the first time.
These clips do not need to be reinstalled, because they are only for initial assembly. The wheel and lug nuts will hold the drum on in the proper position when reassembled. These factory clips are also a good indication that the drums have never been removed and the brakes have never been inspected.
Drum brake removal

Several different methods are used to mount the drum to the wheel hub flange. It can be fastened using the speed nut clip installed at the factory as mentioned above.
But keep in mind that it can also be retained by a castle nut and cotter pin on a floating drum type system. This float type is used on both foreign and domestic automobiles as well as light and heavy duty applications.
Often on larger trucks the axle flange may also secure the rear drums. In this case, the axle must be removed before the drum is pulled from the brake assembly.
A common mistake that is made on this type of brake system is to reuse the axle flange gaskets.
In many cases the old axle flange gasket will look okay, but it has already been compressed. If you reassemble the rear brakes with the old axle flange gasket gear oil could leak onto the rear brakes. This would mean having to perform the repairs all over again.
Removing seized drums

Often when performing a drum brake inspection, you will remove the wheels and any drum retaining devices yet the drum will not come off. If the brake drum is rusted or corroded to the axle flange itself it will not come off with pulling or prying.
When removing seized drums You need to break the corrosion by lightly tapping the axle flange and drum mounting service with a plastic or dead blow hammer while wearing safety glasses.
Also note that a groove may develop in the drum that will make it also very hard to remove. In this case, it is best to use the star adjusting wheel to completely back off the rear brakes as much as possible.
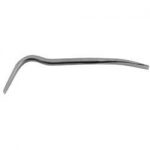
Most backing plates have an access space to the adjustment wheel. Having a brake spoon and a long thin screwdriver to release the back off lock will make this easier to back off.
Drum brake inspections

Once the drum has been removed visually inspect the rear brake shoes as well as the drum. Often their physical condition can reveal defects in the drum brake system. If the linings on one wheel are worn more than the others it might indicate a drum surface problem.
A tapered drum can cause uneven wear from side to side on any one set of shoes. If any of these conditions are detected It is recommended that you take some drum measurements with a dial indicator for run out and taper. You can use an inside micrometer to confirm drum warp age or problems.
Keep in mind that brake drums will act as a heat sink. They absorb the heat and dissipate it to the air that runs past the wheels. As a brake drum wears from normal usage their cooling surface area is reduced and their operating temperatures may increase.
These conditions can lead to a distortion of the drum itself and premature wear on the rear brake shoes. It is not often that rear brakes will cause a pulsation in the pedal. But if the drums are distorted, the driver can feel this. Isolating brake drum pulse from disc brake surge is not that difficult.
What I do is cruise slowly in a parking lot and lightly apply the emergency brake with the release engaged. This lets me control the application of the rear brakes manually. If jerking or surging is experienced by light application of the emergency brake this might be an indication of a drum brake problem.
If you have disc on the rear or would like to learn more about abs problems visit my disc brake diagnosis page.

